Developing a Google Data Studio Connector: Part 2
In part 1 of this tutorial we learnt about what Data Studio is and How to use it. In this tutorial we will kickstart development of our own data studio connector. So let's begin.

Click here to read next part.

What are the requirements?
- A Google account
- Knowledge of JavaScript
- A little information on how to use data studio to create visualizations.
What is the goal?
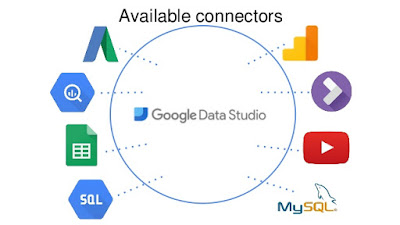
Data Studio Community Connectors enable direct connections from Data Studio to any internet accessible data source. Here we will be building a simple connector that connects to public GitHub APIs and compares two users data. We will then create visualizations to analyze the GitHub profiles.
Step 1: Create a project on AppScript
We will use AppScript to write code for our community connector. AppScript makes it easy to deploy our connector and debug it. Visit AppScript and click on New Script to create a new script file. It will open a new project. Rename the project and remove all the contents of code.gs file. We will start writing our code in this file.

Step 2: Learn about the flow how data connector works
Data studio connector will basically interact with 4 functions which are:
- getAuthType()
- getConfig()
- getSchema()
- getData()
- getAuthType() : This function will be called first when you will setup your connector. It checks for what type of authorization is required to run the connector. It then asks you for the authorization details and lets you pass if your details are correct. Some of the auth types supported by connectors are:
- NONE: Authorization is not required.
- OAUTH2: Can be authorized via 3rd party services.
- USERPASS & TOKEN: Users can be asked to enter a token key.
- API KEY: Can be asked to enter a key which cab be verified.
- getConfig() : This function is called after authorization step. Here you can ask for the configuration things such as text input, check-boxes etc which you can use in your connector later on.
- getSchema() : This function is called after configuration step and this is used to obtain the table schema. You can add data according to schema only so it is important that you choose correct fields for the schema. There are two types of fields in data studio referred as dimension and metric. So you need to decide which field you are selecting as dimension and which one as metric. More information on metric and dimension can be obtained from here.
- getData() : This function is the main function which is called at the time of report construction. As soon as the new data is added into report/ or the new field is requested/ or some modification is made in report. This function is called and new data is fetched from the data source according to new fields demanded.
Click here to read next part.


Comments
Post a Comment